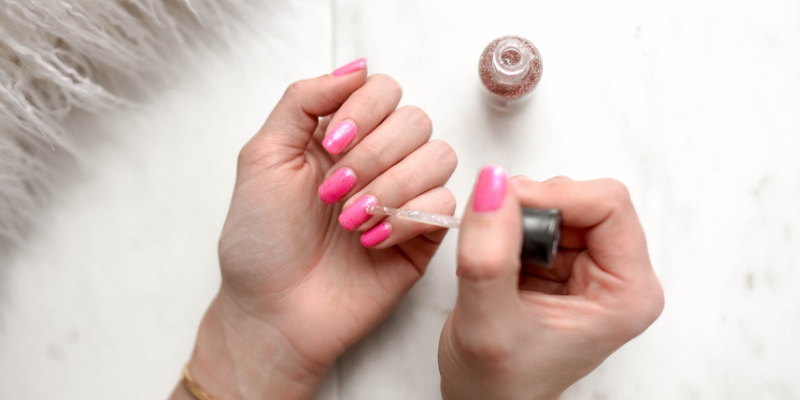
Having a professional salon manicure is a luxurious feeling and really completes a totally pulled-together look. But who has the time or money to go get your nails done every week? Mastering the techniques of doing your own manicure at home can allow you to look elegant all the time at a fraction of the cost.
Gather Your Tools
Before we get started, let’s make sure you have everything you’ll need:
- Nail-polish remover like Zoya Remove Plus Nail Polish Remover and cotton swabs or pads.
- Nail clippers. Try professional-quality nail clippers by Tweezerman for a clean, precise cut.
- Emery Board.
- Cuticle Pusher and Nippers. It can be helpful to have a set of cuticle pushers and nippers to get them trimmed and under control before you begin putting any products on your nails. We recommend the products by the Tweezerman brand.
- Base coat. Zoya Anchor Base Coat will hold your polish in place for maximum wear. If you suffer from ridges or unevenness in your nails, a product like Zoya Get Even Ridge Filler Base Coat will help create a smooth starting surface.
- Nail polish. Zoya makes a variety of high-durability polishes. We have over 130 different Zoya shades to choose from on pandorabeauty.com, from subtle natural shades to bold metallics.
- Clear topcoat. Try Zoya Armor Top Coat to add a flexible protective shine that will extend the life of your manicure.
- Optional: LED light. If you are really serious about getting a perfect manicure at home, you’ll want to purchase an LED lamp like the OPI Studio LED Light for quick, even curing of your nails.
- Optional: Nail strengtheners. If your nails are prone to breakage, a product like Qtica Nail Growth Stimulator or Duri Rejuvacote can be helpful to strengthen your nails. We also recommend taking minerals like Phyto Hair and Nail Supplement to improve your nail health from the inside out.
Performing a DIY Manicure at Home
- Remove any previously applied polish with nail polish remover and cotton pads. Ensure that all polish is completely removed.
- Clip and file your nails to the desired shape with clippers and emery board. Rounded or squared tips are less prone to breakage than pointed tips.
- Soak nails in a bowl of warm water for about three minutes.
- Push your cuticles into place and trim off any excess, being gentle. Never pull or tear at your cuticles!
- Apply base coat. Allow to fully dry. Never use heat, like from a hair dryer, as this will cause the polish to become brittle and prone to peeling and cracking.
- Apply two coats of polish, allowing time to dry after each coat. If you are new to DIY manicures, start with a pale, neutral polish so that any mistakes you make will be less noticeable.
- Apply top coat. To keep your manicure looking great, apply a fresh layer of top coat every couple of days and keep your hands, nails and cuticles well moisturized. That’s it! With a bit of practice, you’ll have the at-home manicure mastered.
Be sure to check out the full line of nail care products available on our website. We guarantee that all beauty lines offered are 100% authentic, never from a third-party, and are items that our beauty team uses on our own hair and skin. Plus, Pandora Beauty offers some of the best prices available on all your favorite salon-quality products.


